
How to make a product prototype in five steps
Making a product prototype is an essential step in product design. It allows you to bring all your creative ideas into reality. However, this process isn’t simply about turning your abstract idea into a physical product. There are certain steps you have to follow to successfully create your prototype.
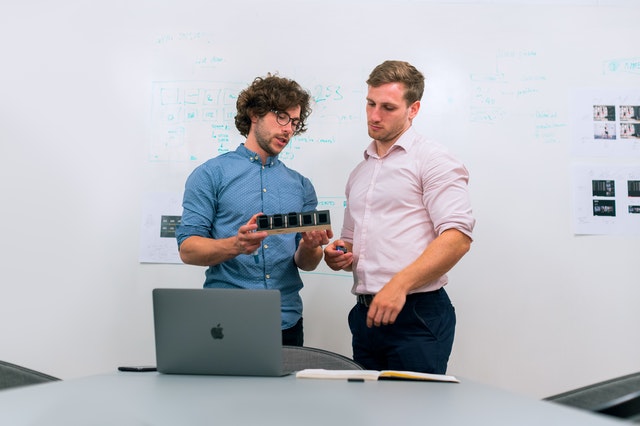
Step 1. Consolidate your ideas.
Every good product begins with an idea. Initially, you might have ideas all over the place. Make sure to collect your thoughts first and list down the ideas. Then, you can work from these ideas and pinpoint which ones
Furthermore, following the brainstorming process is research. A good idea simply isn’t enough to create an excellent product. There are plenty of factors to consider in creating a product prototype. This includes time-constraints, manufacturing limitations, budget, etc.
Step 2. Sketch your product.
Once you got all your ideas sorted out, it’s time to make a visual representation of your product. You can either go the traditional path through manual drafting. However, there are more advanced tools you can use to make this step a little bit easier and more convenient. You can try using computer-aided design (CAD) software.
This software can help you create both two-dimensional and three-dimensional virtual prototypes.
Step 3. Make the physical prototype.
There are two paths you could go down in making your physical prototype. You can either go the CNC prototyping route or 3D printing. There are specific pros and cons for each method.
CNC Prototyping
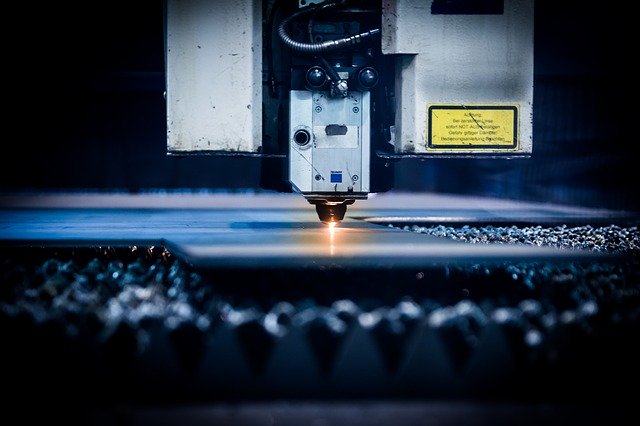
Computer numerical control or CNC prototyping involves the use of computerized controls and various tools to create a product.
CNC prototyping produces higher quality prototypes compared to other methods such as 3D printing. Furthermore, products are functional and are almost close to production value. However, the costs can be a major limitation as machines and installation are expensive.
3D Printing
3D printing has revolutionized the way product designers create their prototypes.
3D printed prototypes are typically close to nonfunctional sometimes. However, it’s a more cost-effective solution compared to CNC prototyping. Furthermore, you have more flexibility when it comes to the design and customization of the prototype.
Step 4. Test the prototype.
Now you have turned your mere idea into a physical and tangible object, it’s time to test it out. You can test it in a lab and have real people test it out.
Step 5. Refine your prototype.
Once you’ve tested a prototype, you will soon realize that there are some modifications that you need to do. The job doesn’t end with creating a physical prototype. It’s only the beginning of more redesigns and changes. You might some encounter issues when it comes to ergonomics, current trends, consumer demand, and lack of marketable features.
Note that these five steps are highly condensed and contain only the most basic steps to make your product prototype. However, being aware of these five basic steps will give you a good overview of the process of designing and making a prototype.