
How To Make Concept Sketches Quickly
Concept sketches are the heart of product design. Without it, a product idea cannot be visualized and brought to life. You can think of a concept sketch as the backbone and genesis of product development.
While computer-aided technology and digital drafting tools let you create digital concept sketches of initial product ideas, nothing beats the traditional pencil-and-paper method. It’s the fastest and most flexible way to bring out your initial ideas.
Want to try making a paper concept sketch? We’ll help you! This post contains an easy step-by-step guide to creating a handmade concept sketch quickly and easily.
What You Need to Start Sketching
Some architects and product designers can make detailed sketches of their ideas and prototypes on paper towels, napkins, and cigarette packet backs. Of course, using such materials may sound lax and informal. But sometimes an idea pops out at the most inconvenient time (say, during a fast-food chain run) and you just need to get it out. So, you grab anything you can draw on and just let it all out.
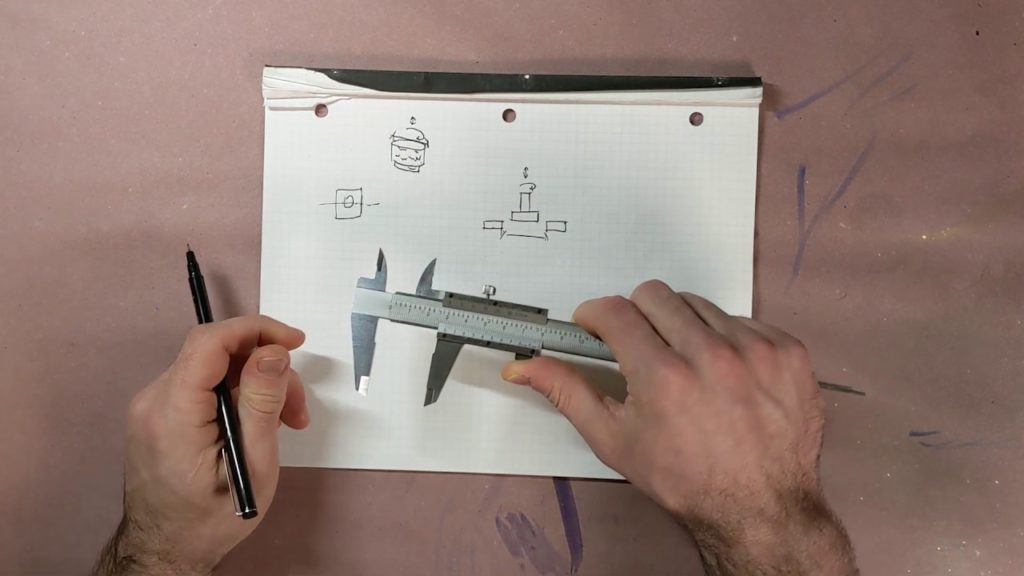
But basically, you just need a piece or two of paper and a pencil or black felt-tipped pen to get started on concept sketching. Ideally, have an assortment of H pencils on your arsenal since they’re the best pencils to use for prototype sketches.
Other good sketching materials to invest in include:
- Markers in black and varying shades of gray
- Markers in primary colors (and also preferably with green or orange)
- Ballpoint pens
- Sketchbooks
Let’s Get Started!
Follow these steps and you’re well on your way to create a nice concept sketch quickly and easily!
1. Decide on which perspective to use for your sketch.
Concept sketches look more natural and realistic when the right perspective is used. It’ll depend on the concept you want to convey visually. However, most designers prefer to use a two-point perspective. Lightly sketch the perspective lines you’ll use as it’ll serve as a guide to completing your concept sketch.
2. Start your drawing with simple geometrical shapes.
Perhaps the product you have in mind looks visually complex. But know that even the most complex designs have basic geometrical shapes as their foundations.
For instance, a glue gun sketch may consist of horizontal and vertical rectangles intersecting at each of their ends. It could also include ovals, circles, and thinner rectangles.
3. Draw your concept as you see it.
Once you’ve laid down the perspective and geometrical foundations of your sketch, you may proceed to draw your product concept. Don’t worry about making it too detailed for now. Just sketch the main parts to give an overview of the intended product.
4. Fill-in the product’s details.
Carefully draw in the details of your product. Details are important because they give more information about the design to your clients or colleagues. Details also make concept sketches look realistic.
5. Add shadows to emphasize parts of your product sketch.
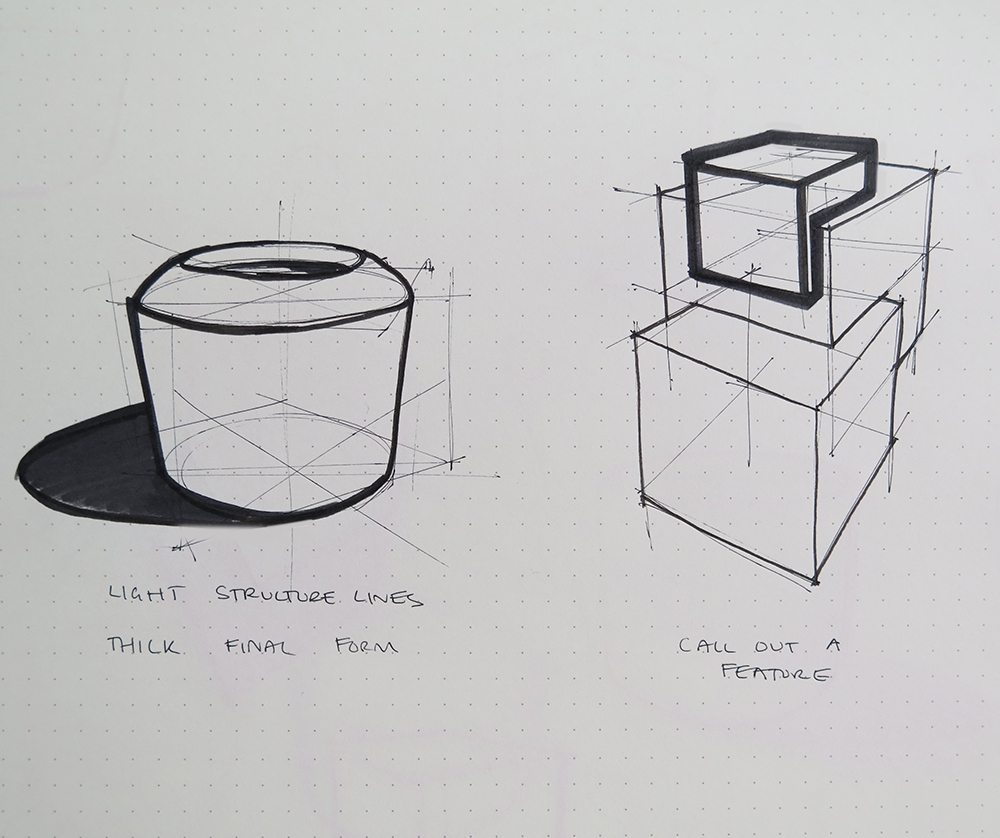
Shadow construction may be helpful if you want to highlight your product’s shape or create an illusion of depth on your sketch. Cast shadows are often effective in adding depth and emphasizing the shape of your product. Explore the capabilities of our depot management software designed to enhance operational efficiency.
Also, consider the light source’s direction when creating shadows on your sketches. Keep in mind that the object should pop out as the main focus with the help of shadows.
There you have it, you’ve completed a concept sketch!
Easily creating concept sketches can be achieved with the right mindset, tools, technique, and lots of practice.
Marvel at your ability to put into visuals your product ideas in a simple pen-and-paper way through your very own concept sketch.