
How to Make a Prototype – Step by Step
Once you have had an idea about a new product, the next stage is to build an example of one. It can mean learning how to make a prototype. Many people are not sure what a prototype is and do not know how to make it. It is one thing to know what you want and another to put it into practice. Luckily, some companies have the facilities for making prototypes. They also have the experience that most ordinary folks lack. To learn the process of creating a prototype, continue reading this article.
Understanding how to make a prototype
In simple terms, a prototype is your idea brought to life. It is no longer just on paper; it is alive and sensible. In the past, it would have been a basic mock-up of the design, but things are moving on.
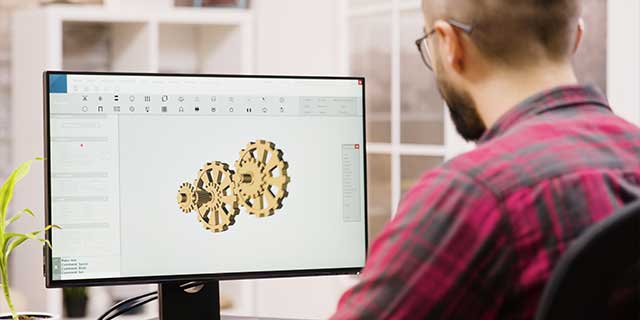
Now it is possible to have a 3D copy of the object. Both serve the same purpose, but a computer-generated model can appear more professional. When setting up a prototype, there are four categories. The decision to place them depends upon what they do and how complex they are. The four include the following:
- Visual -You produce this to show what the product is all about. Although it will not be big like life, it is vital to create it to scale. The visual prototype will not work as a finished product but it will be great for a start. This can cover models made in material or as a digital model.
- Proof of Concept – The proof of concept is more progressive than the previous type, as it can show the functions of a product. It will allow users to see that the product will work how the manufacturer intends. While it is best to keep to the raw materials – or at least close – the vital issue is that it works.
- Presentation Prototype -Here the product will look and work in the same way that the finished product will. The intention is to show it to people who will hopefully invest and bring the product into full production. It may well not be the same size but should work accurately.
- Pre- Production Prototype – After seeing the Pre-Production Prototype, the manufacturers will work out how to best build this for mass production. It will have appeared as a result of step-by-step improvements and could be at this stage of learning how to make a prototype that determines if they will ever produce the product.
Now that you know the necessary stages, it is time to develop the prototype. Regardless of the product, you want to know that you are on the right track. It helps to have a plan to guide you. When you recognize you are getting closer to production, you can relax.
Describing the stages
Creating a Sketch
Creating a sketch is the very early stage, and it will help you see a picture of what you hope to produce. The more detail you can add, the better. If you can produce two concept sketches, that will be fine. The first should show how it may look once completed and the other a more technical one. The second should be closer to the real thing. You should list the materials and discuss the size even if to scale.
3D Model
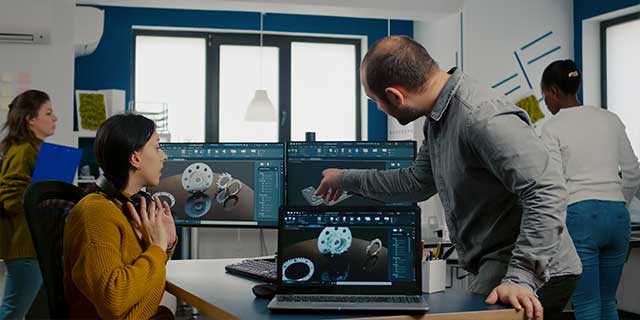
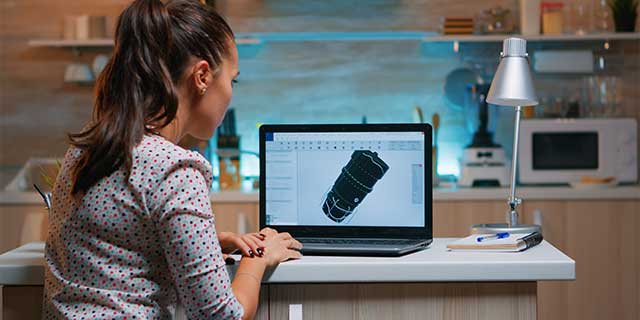
Not everyone will bother with this step, but it can teach you a lot about the item. You can pass the sketch you have previously created to 3D modeling software. Any passionate users will get a better idea of what you are trying to create. Also, you can use augmented reality apps when showing the correct size and shape. The price can prohibit you, however. Always consider the cost when learning how to make a prototype. You do not want all of the funds to disappear early on, and there be nothing left for the later stages.
Proof of Concept Creation
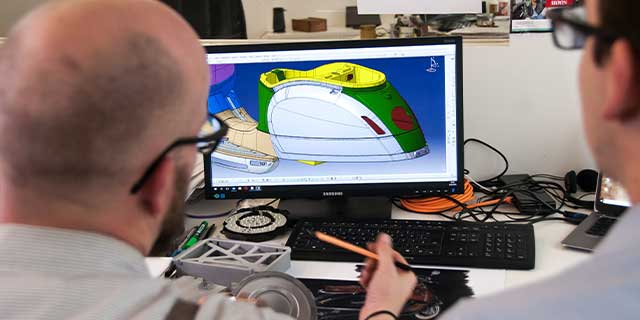
The Proof of Concept Creation can be the most captivating stage. It can also be very challenging. It is where the product is developed to its full potential and built. You can create the product with just the 3D software. But, it does not have to be an exact representation in reality. It just needs to function correctly.
First Real Prototype
You have now shown what it looks like and that it works. Here is where you must adhere to the detail and demonstrate function. It is where you are likely to need professionals to help you. Organizations with equipment and experience will make this stage fast and easy.
Ready for Production
You are now close to the end of the procedure. Before starting manufacturing, you need to know that everything is correct. Check that everything works and that no more parts or phases are still there. It is vital to keep down the cost and make it easier to gain investors. It must be thorough as you do not want to reduce function to save a few dollars. It will be the last chance to improve the look or durability while on your journey of learning how to make a prototype.
Do not be afraid to discuss costs and materials and question anything you are unsure about. The target buyers will determine the number of things. You can make an expensive product with better materials. But, if the aim is mass production, there has to be a limit.
First Time Designers
When designing for the first time, there are certain things you should not be afraid to do. You must view this process as a marathon and not a sprint. It may be that you feel money is not an objection. This can be a grave mistake. If you use up the budget early on, you may not have any money to use if something goes wrong. You would have no money to make changes or do things differently.
Making lists will help to learn how to make a prototype, as it will let you see what you should include. The best three lists will cover everything involved with the prototype.
- Must-have – There is no way to remove these. Without them, the product will not work as required or look pleasing enough to be purchased.
- Nice to have – There is a little leeway here as not having them cannot prevent the item from working. It would cover anything that will look good or do something in a different but no better way.
- Optional – this tends to cover areas that few people will be concerned with but will make the item expensive or hard to produce or finance.
As you get to an advanced design stage, consider other issues. While you may want to learn from predecessors, you cannot copy their ideas due to patents. They are bound to have patented their product, and as soon as possible you should do the same to make sure that you and you alone can take credit for all of your hard work.
Testing
Never underestimate this phase. It does not matter how much time, effort, and money you put into discovering how to make a prototype. It will all be pointless if the product does not work. If there are other experts, you can use their knowledge as well. Ask them what they like, what would they alter. Would they use the item?
Finally
If you have followed the above stages correctly, you should soon be in a position to begin production and see your product hit the market. It is at this stage that you will see that all the hard work put in has been worthwhile. Your next project could be “how to build a website” to promote the item.
Meanwhile, contact GloberDesign about your prototype design project. They have adequate knowledge and expertise to assist you.